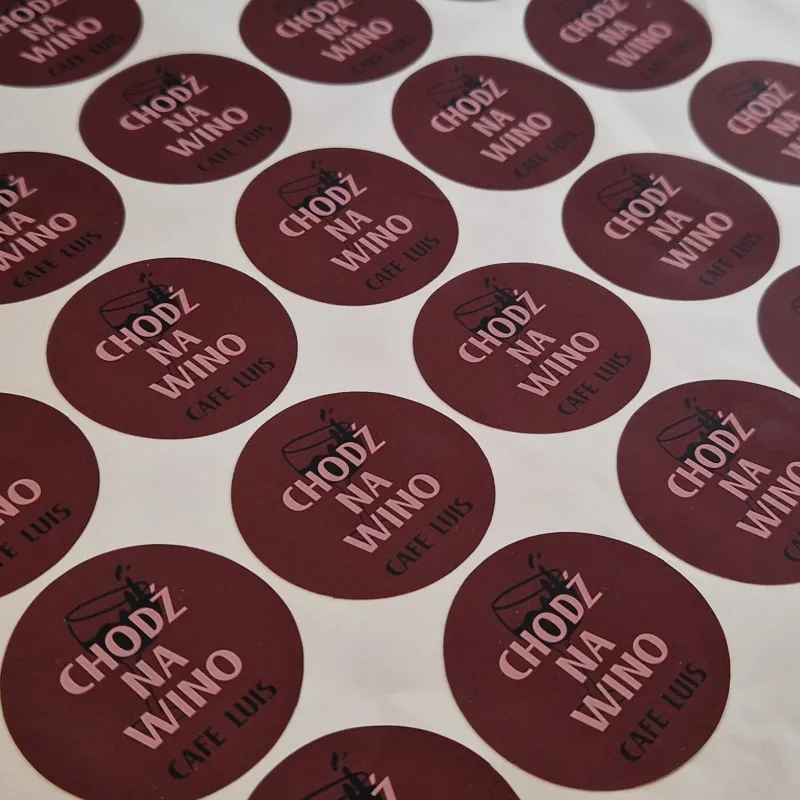
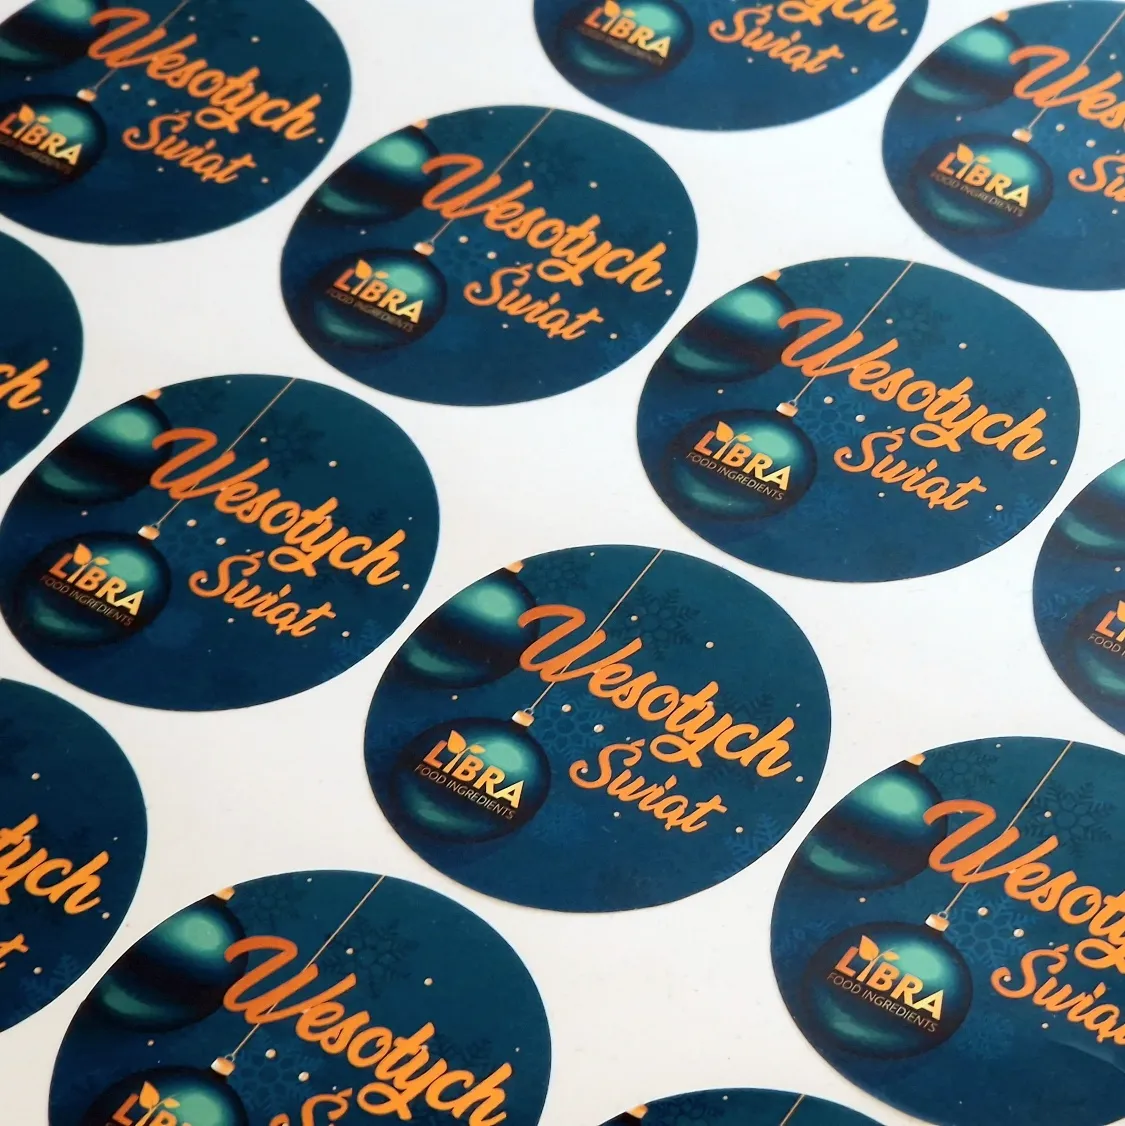
Custom-size stickers and labels – digital printing tailored to your needs
We offer self-adhesive labels and stickers in any size and shape, digitally printed on a wide range of materials. Our stickers work well as product labels for packaging (cosmetics, household chemicals, food), rating plates for equipment, inventory numbers, information tags or promotional stickers. Thanks to digital technology, we handle both short and medium print runs, with the option to personalize every single piece. Labels are supplied in strips (several pieces each) or on sheets
How to order stickers – step-by-step guide
⚠️ Fill in the calculator from top to bottom – each step depends on the choice made in the previous one.
1. Sticker size (in millimetres)
Enter the dimensions of your sticker or choose one of the presets (e.g. A4, A5, 50x50mm square). It does not matter which dimension you enter as the width and which as the height – the system automatically calculates the most efficient layout of pieces on the sheet, minimising material usage and cost.
Minimum size: 5x5 mm Maximum size: depends on the selected material (more in the FAQ)
2. Choice of material
Choose from self-adhesive papers (white matt/gloss, opaque, eco kraft) or films (various adhesives and finishes: milky white, transparent, silver, tamper-evident). Note: Large formats (e.g. A3) may limit the choice of materials – the calculator automatically adjusts the options to your dimensions.
Catalogue of self-adhesive materials
3. Colours
CMYK – standard full-colour printing White – available on its own or combined with CMYK
The order matters:
White + CMYK – perfect colours on kraft/transparent substrates (more expensive)
CMYK + white – when white elements do not overlap the colour (cheaper)
4. Type of cutting
Straight cut (default) – rectangular or square stickers with sharp corners. Faster and cheaper.
Contour cut – cutting to any shape with a cutting plotter (round, oval, logo-shaped). Requires a file with a correctly prepared cut line – more information in the file preparation section.
5. Number of designs and quantities
A unique feature at BARWA print shop lets you combine many different designs in a single order. For example, you can order product labels for four flavour variants (strawberry, raspberry, vanilla, chocolate) – each in a different quantity. It is the ideal solution for companies with a wide product range.
⚠️ Note: multiple designs ≠ personalization! If you need personalization (e.g. numbering from 001 to 1000), select the "Personalization" option in the Finishing section.
6. Quote ready – save or order
Click the star next to the list and give it your own name (e.g. "Strawberry yoghurt labels"). You will find saved quotes in your customer account and can return to them at any time.
NOTE!
Shapes cut out within a piece cannot be very small or very complex. If the complexity of the curve makes the plotter work too slowly or even prevents the piece from being cut correctly, we reserve the right to reject such a design.
Need help?Contact us – we will advise you on the material and finishing for your application.
Labels & stickers
Print parameters:
X
mm
Delivery form:
Sticker sheetsstickers kiss-cut on the sheet, ready to peel off
Method: Cutting plotter — selected automatically based on quantity and shape.
Stickers
semi-gloss self-adhesive paper: 80g
Maximum format for selected material is 488x330 mm
CMYK
Finishes
Quantity:
Most common quantities
1 projects
100 pcs total
0.13 €/pcs
13.33 €
1 projects
200 pcs total
0.08 €/pcs
15.88 €
1 projects
300 pcs total
0.06 €/pcs
18.43 €
1 projects
400 pcs total
0.05 €/pcs
20.99 €
1 projects
500 pcs total
0.05 €/pcs
25.20 €
13.33 €
net
Lead time: 1 working days
VAT rate: 23%
0.13 €/pcs
Weight: 0.02 kg
How to prepare stickers
In brief
- CMYK - resolution 300 dpi - bleed 2 mm - margin for content min. 3 mm from the cut line (if the calculator shows "plotter" under finishing, we recommend a 1mm margin) - black must have the values C:0 M:0 Y:0 K:100 - grey is e.g. C:0 M:0 Y:0 K:60 - fonts converted to curves - no ICC colour profiles - PDF version 1.3 (Acrobat 4.0)
Dimensions
Trim size
The size after trimming equals the size entered in the calculator (width, height), e.g. 50 x 50 mm
If the label is to be cut to shape, place the cut contour on a separate page (blue line with values C:100 M:0 Y:0 K:0, thickness 0.1mm). The cut contour must be placed in the same position (relative to the document size)
NOTE! The cut curve must be closed (Corel) and single (there must not be several lines in the same place)
Document size
The design must be enlarged by the bleed, i.e. by 2 mm on each side relative to the trim size. E.g. 54 x 54 mm. If any objects extend beyond the document area, they must be cropped.
Note! Even if your artwork does not have a background extended into the bleed, the document size must be kept. Therefore, the document size should be defined by a rectangle with the dimensions of the document on the lowest layer, with no outline and no fill, or (in the case of a raster file) the design should be cropped accordingly so that it has the correct dimensions.
Bleed
The background of the artwork and all objects touching the edge of the piece must be extended into the bleed beyond the edge of the piece. For this product the bleed is always 2 mm on each side.Bleed Because the guillotine used to cut the pieces has a certain cutting tolerance, the background of the artwork cannot have exactly the same dimensions as the piece, since if the artwork shifted, a white strip of unprinted area would remain at the edge. That is why the background of the artwork and all objects touching the edge of the piece are not designed flush with the trim size but extended 2 mm beyond the area of the piece. The extended graphics, the so-called "bleed", will be trimmed off the piece. If the cut line shifts, a fragment of the bleed may "enter" the area of the piece, which will not change the appearance of the artwork at the edge.
Graphics
Colour model
The artwork must be prepared in the CMYK model. If the artwork contains raster images (textures, photos), they must also be converted to CMYK. In printing, the CMYK colour model (cyan, magenta, yellow, black) is used to reproduce any colour. Every colour job is printed from these components. That is why photos and graphics saved in the RGB model (red, green, blue) must be converted to CMYK. Most graphics programs have an option to convert the colour space from RGB to CMYK.RGB -> CMYK reproduction Since colours cannot be reproduced perfectly when going from the RGB model to the CMYK model, you should expect some differences in the image after converting it from RGB to CMYK. That is why it is better to prepare graphics in CMYK from the start rather than converting them after the work is finished.
To get a full, deep black use 100% black without any CMY components (i.e. C:0 M:0 Y:0 K:100) and save it as vector graphics. When using so-called rich black (e.g. C:50 M:50 Y:50 K:100), a colour cast may appear in one of the CMY components, and with very small fonts (or reversed-out text) or objects the edges may become blurred.
Do not use gradients down to values lower than 5%. Add noise to the gradient to avoid banding.
White printing
We recommend preparing the white colour as 100% K (vector graphics required). Likewise, for CMYK+white printing, prepare two pages - page 1 CMYK, page 2 white (as 100%K).
For white printing we also accept a file with a Spot colour named "White". With the CMYK+white option, white objects (in the spot colour) must be overprinted on the CMYK to obtain an underprint.
When ordering CMYK+white, i.e. white printed over CMYK, it is intended for prints readable from the adhesive side. The second option is the order white+CMYK, readable from the printed side.
Gradients If the gradient is created as a vector object, first convert it to a bitmap and then add noise. E.g. in CorelDraw: Gaussian noise type, level 15, density 15.
Optimal resolution
The optimal resolution for raster graphics and photos is 300dpi. Resolution Photos with little colour variation (low-contrast images) can be saved at a lower resolution, but not lower than 200dpi. If the artwork contains small text, avoid converting it to a bitmap. If this is unavoidable, we suggest increasing the resolution to as much as 600dpi. Otherwise the fonts may have jagged or blurred edges.
Placement of objects
Important objects (photos, graphics, text) must not be closer than 3 mm to the edge of the trim size and to fold lines (creases, folds).
When rotating the design by -90 degrees, check that bitmaps rotate correctly.Placing photos and graphics When placing photos and rasterised graphics in a design, do not insert them as "OLE" objects (by copying and pasting from the Windows clipboard). In that case bitmaps may be saved incorrectly in the file. All linked graphics should be inserted using the "import" command.
Place all text on a separate (top) layer. To avoid thickening of text placed over bitmaps or graphics, all text should be placed on a separate (top) layer. The problem of text (or part of it) thickening occurs most often in Adobe programs
When saving as CDR, group the artwork and convert fonts to curves. In the file, define a page size matching the document size above and place the design centrally on the page. When saving a design without a (white) background as EPS, it must be bounded by a frame with dimensions matching the document size above.
Due to the cutting tolerance, the artwork may shift slightly relative to the edge of the piece. That is why we advise against placing any kind of frames around the design, as their off-centre position on the piece may be visible. In such a case we recommend a margin of min. 5mm from the cut line.
If the artwork contains text, remember to convert it to curves or embed the fonts in the file (in PDF files) before saving. Do not rasterise text!!!
If the artwork has more than one page, save all pages in one file. If your chosen format does not allow this, save two separate files named front and back. (projekt_1.tiff, projekt_2.tiff)
When saving as TIFF, save the file as a single layer, without additional alpha channels.
If the job contains multiple designs, enter the quantity at the end of the file name, e.g. "company_100pcs.pdf" "named_200pcs.pdf".
For complex designs containing many layers, overlapping graphics, shadows, transparencies, etc., flatten them as far as possible into a single background image, keeping text, logos, lines and other important design elements in vector form.
Additional information
Please note that colours may differ from prints made on inkjet printers and from the image displayed on a monitor due to differences in printing technology and colour presentation.